Keyboard
If you knew me as a kid, you know I despised computers with a passion. But over time I began to see the useful side of what they can be, and with that, the amount of typing I did increased greatly. In high school, I went looking for a keyboard and fell down the rabbit hole of options. Mechanical keyboards were something I had never heard of before, and I had a great interest in ortholinear, which led to leaning about corne layouts.
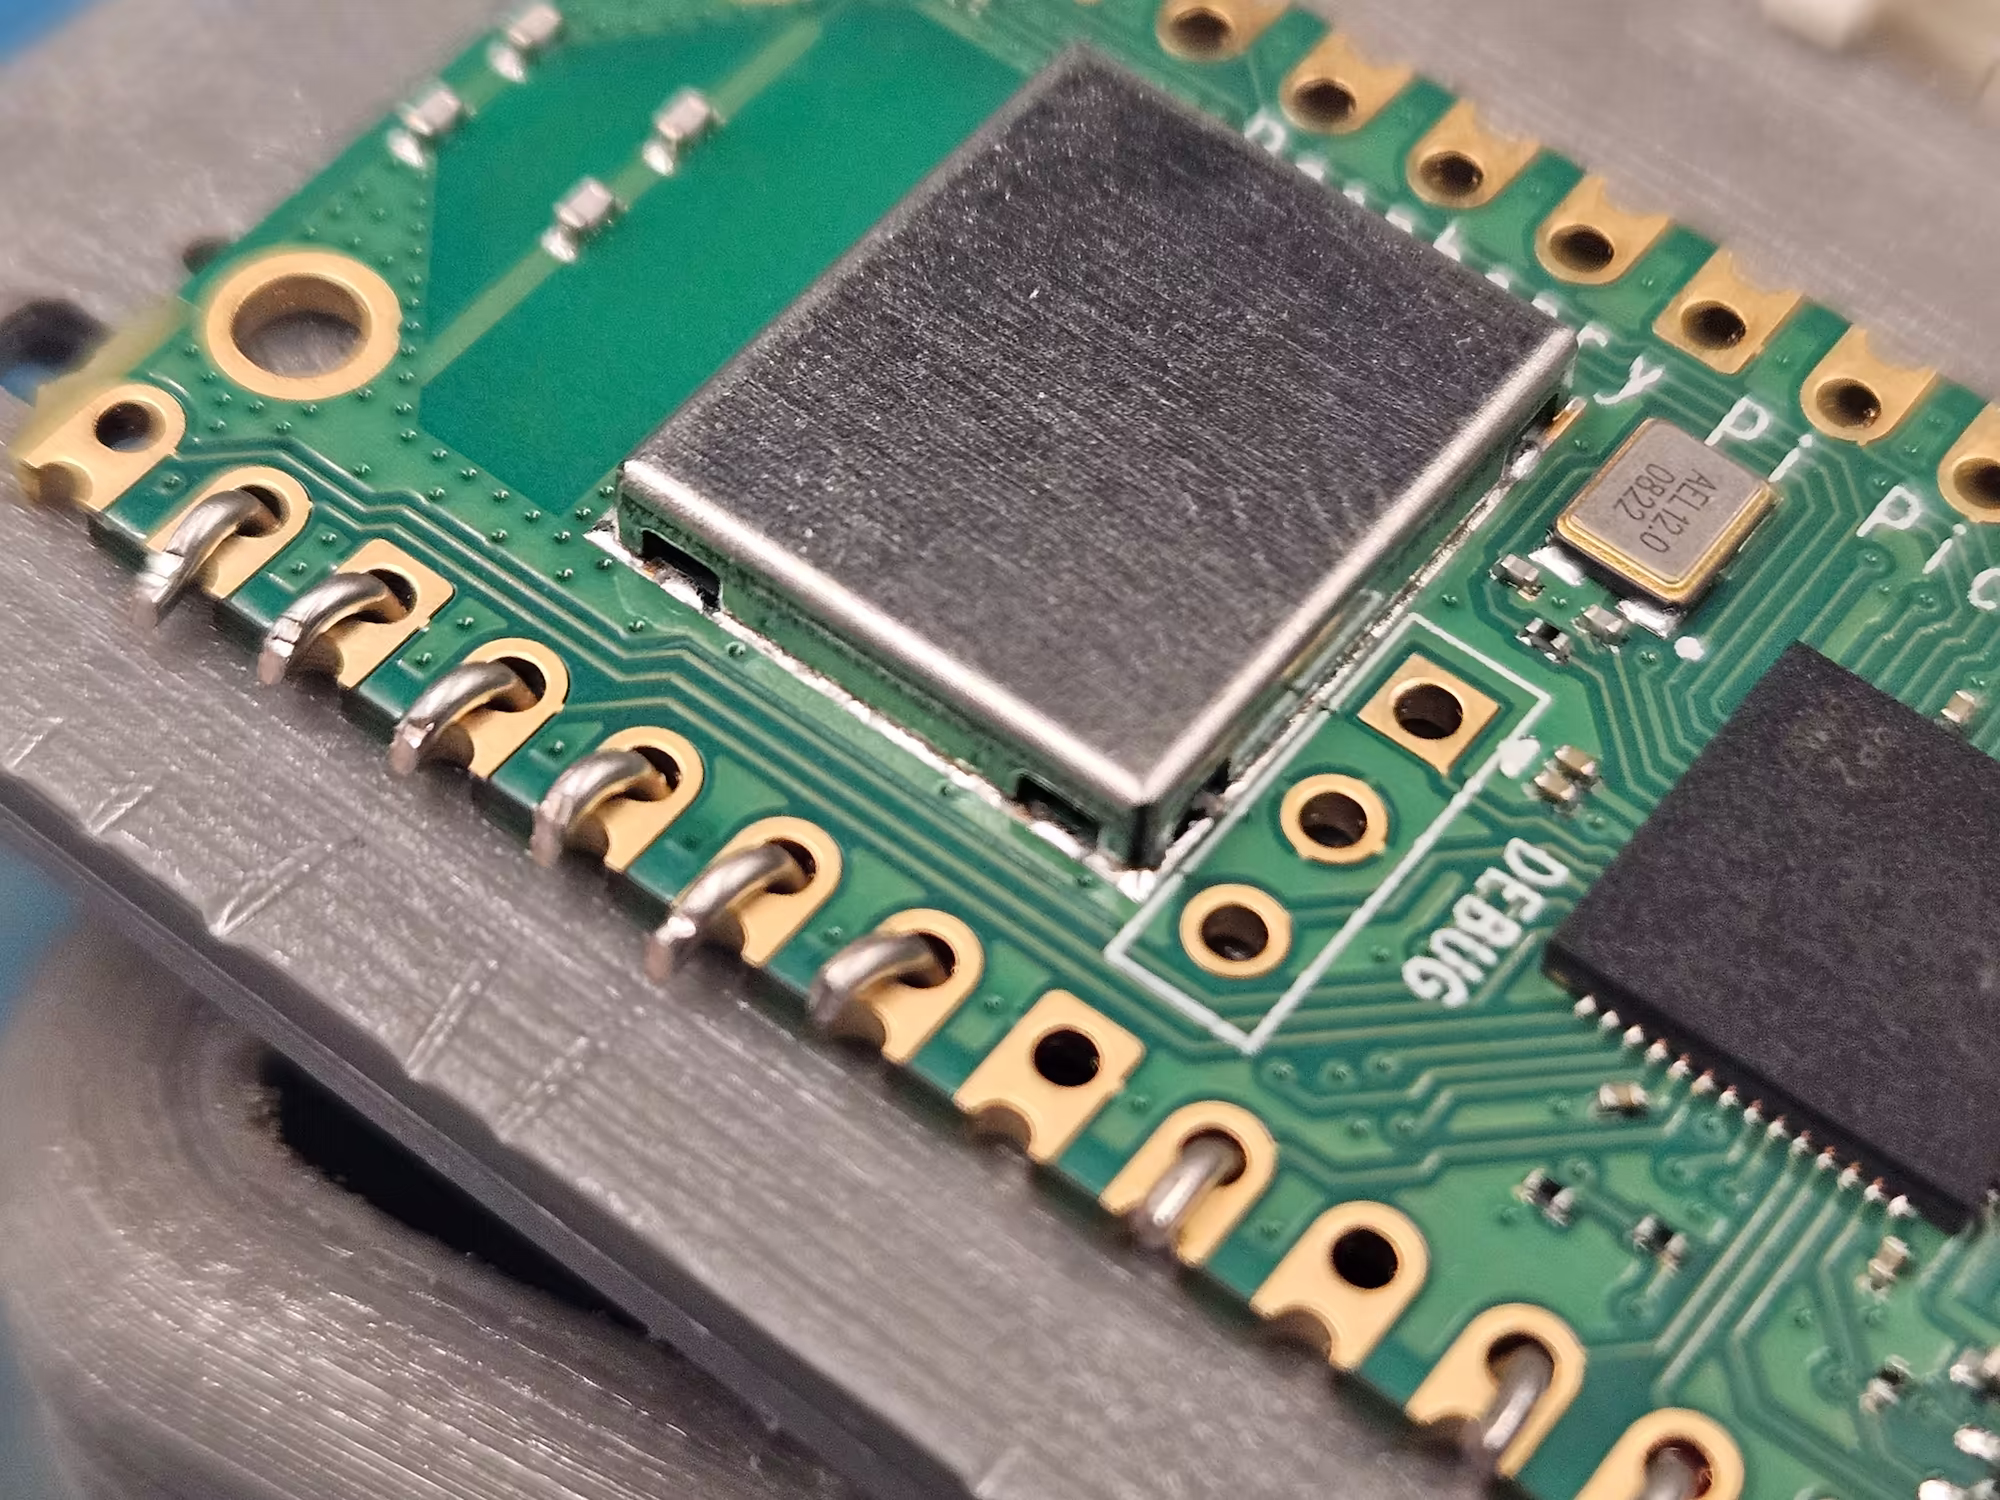 As I shopped around for these fascinating options, I slid down the slippery slope that exists with so much technology. I realized that even getting the most basic PCB at the time (pandemic inflation) meant spending erroneous amounts of money. I understood what a basic component they were, and whenever faced with such a challenge, may family knows me for the phrase "let's make our own!". So I looked into cheaper boards and found the Raspberry Pi Pico to fit my price goals well. Lucky for me, I'm not the first person to ever try doing this, and Scott Keebs tutorials on hand-wiring were a huge encouragement.
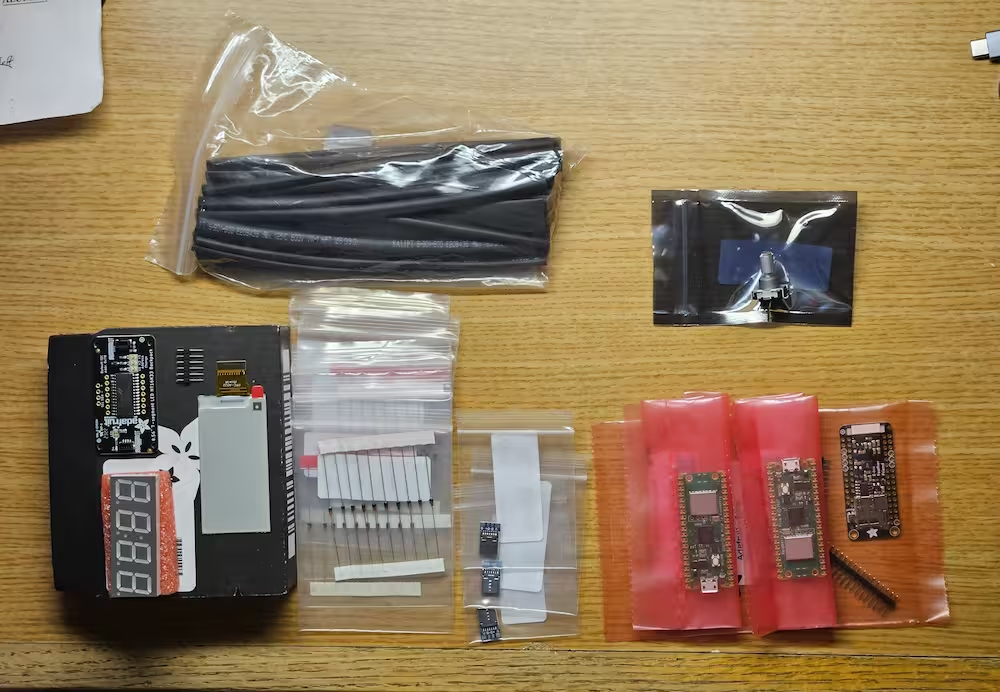 I bought some components, but waited to start building until I had more time. Fall of Junior year, I took the Embedded Systems class as an elective. I didn't know what to expect, but the directive of the class was to make an embedded system. The open-ended form of the project got me excited! After considering all the things I wanted to do, I settled on the project I was ready to start outside of class. May as well do it for credit!
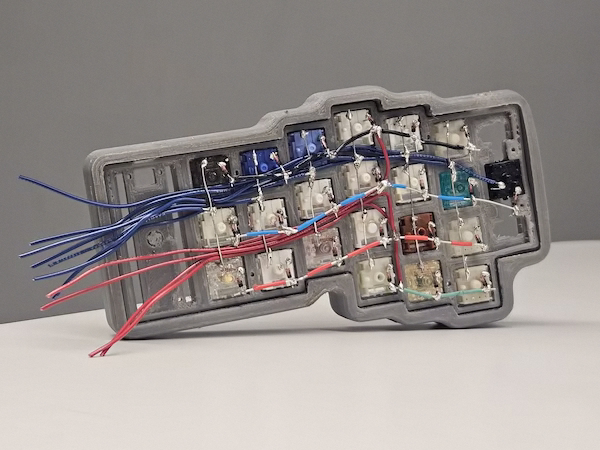
Three people joined me in my endeavour. The keyboard was perfect for the class, with the best range of exposure to low-level concepts and scalable difficulty. Purdue's maker space, Bechtel, was a great resource to us. We made frequent use of the soldering lab and 3D printers, and the lab supervisors were our greatest resource in learning to debug hardware and software in tandem. We met frequently to revise our design and make progress toward the end goal of a functional keyboard.
And in the end, our efforts were worth the while! I got the firmware up and working, with a layered design to fit the tight format. We researched QMK firmware software, but Arduino IDE was a huge benifit for learning the more embedded side of our project. I mocked out the layer layout as an Inkscape SVG, and got all the keys tested (one column was misswired). We never got keycaps on there, but the rough model was completely functional. The final step was to present in class, with requires strong communication and marketing from all members. After explaining the processes followed and lessons learned, along with the result, the professor was very happy.
We ended with an A+ in the class, a satisfying ending to a long labor of love. I can't wait for my next soldering project!